Preparing for the National Institute of Design (NID) entrance exam can feel overwhelming if you have never studied design, drawing or visual communication before. The good news is that you do not need to be a professional artist to begin NID preparation. You need to develop observation, creative thinking, problem-solving, visual communication and the ability to express ideas clearly.
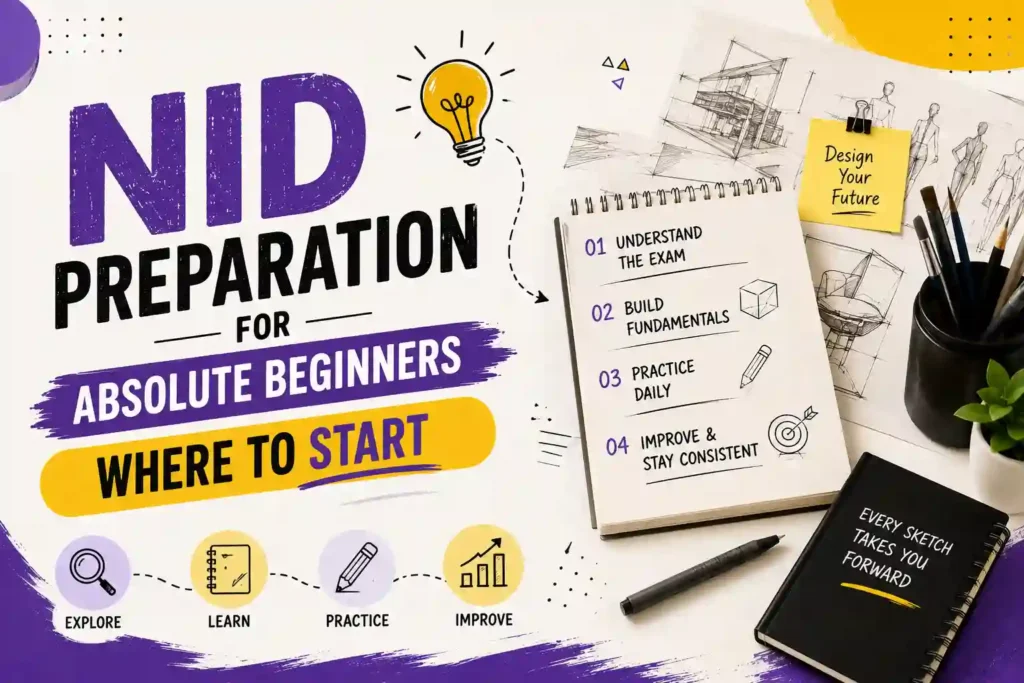
The best way to start NID preparation as a beginner is to understand the NID Design Aptitude Test (DAT), practise basic drawing and observation, solve design-oriented problems, and gradually introduce timed practice and previous-year question papers. Instead of trying to master everything at once, build your skills step by step.
This guide explains how beginners can start preparing for NID DAT, what to practise first, which resources to use, how to create a study timetable, and which common mistakes to avoid.
NATA (National Aptitude Test in Architecture) is a national-level architecture aptitude examination conducted by the Council of Architecture for admission to the first year of the five-year B.Arch. programme at recognised institutions. NATA assesses drawing and composition, visual reasoning, logical thinking, architecture and design awareness, design sensitivity, language interpretation and numerical ability.

What Is NID DAT?
The NID Design Aptitude Test (DAT) is an entrance examination used for admission to eligible design programmes at participating National Institute of Design campuses. It evaluates abilities relevant to design education, with the selection process and examination stages specified in the official admission handbook for each admission cycle.
For undergraduate B.Des admission, the process has included DAT Prelims and DAT Mains. The precise examination structure, assessment components, eligibility rules and admission stages must be checked in the official handbook for the year in which you apply.
NID preparation is different from preparing for an examination based only on memorisation. Students need to learn how to observe objects, understand visual relationships, generate ideas, solve problems and communicate their thinking through words and visuals.
Can an Absolute Beginner Prepare for NID?
Yes, an absolute beginner can start preparing for NID without having a formal art or design background. What matters is developing the relevant skills through regular practice rather than assuming that natural drawing talent is the only requirement.
You can begin even if:
However, beginners should understand that improvement takes time. You will need to practise consistently, review your work honestly and become comfortable solving unfamiliar problems.
Read Also
- UCEED 2027: Eligibility, Exam Pattern, Syllabus, Preparation Strategy, Colleges & Career Guide
- NID-DAT: Complete Guide to NID Entrance Exam
- NIFT Entrance Exam: Eligibility, Exam Pattern, Syllabus
- JEE Main Paper 2 (2027): B. Arch Exam Pattern, Syllabus, Eligibility
- CEED 2027: Eligibility, Exam Pattern, Syllabus, Preparation & Coaching Guide
Step 1: Understand the NID DAT Exam Before You Start
Before buying books or beginning intensive drawing practice, understand the examination you are preparing for.
Start with these tasks:
- Visit the official NID admissions website.
- Read the latest admissions handbook for your intended programme.
- Check eligibility requirements and important dates.
- Understand the stages of the selection process.
- Review the official examination pattern and assessment criteria, where published.
- Download available official sample papers or previous-year papers.
The official portal is NID Admissions.
This step matters because the examination format and admission requirements can change. Do not depend entirely on old YouTube videos, coaching notes or unofficial websites for current rules.
Step 2: Start With Observation, Not Difficult Drawing
One of the biggest mistakes beginners make is trying to draw complicated scenes before learning to observe simple objects.
Design begins with understanding how things look, work and interact with people. Start by observing objects around you, such as a water bottle, chair, school bag, mobile phone, table lamp or pair of shoes.
Choose one object each day and study:
For example, observe a school bag. Think about how its straps distribute weight, where its pockets are placed, and how a student could access books more easily.
Then sketch the bag and propose one improvement.
This simple exercise develops both observation and design thinking. It also trains you to look beyond appearance and consider how a product solves a real problem.
Step 3: Learn Basic Drawing From Scratch
You do not need to start with portraits or complicated perspective drawings. Build your drawing skills in a logical order.
1. Basic shapes
Practise circles, squares, rectangles, triangles, cubes, cylinders and cones. Learn to draw clean outlines and understand how shapes fit together.
2. Everyday objects
Sketch bottles, mugs, books, bags, chairs and other familiar objects. Focus on proportions, outlines and basic details.
3. Perspective and depth
Learn how objects appear smaller in the distance. Practise one-point perspective before moving to more complex views.
4. Human figures and actions
Start with simple stick figures and gesture sketches. Gradually learn body proportions, movement and people interacting with objects.
5. Scenes and visual storytelling
Combine people, objects and backgrounds to communicate an idea. Practise showing a situation through a sequence of drawings.
Spend around 20–30 minutes a day on drawing at the beginning. Accuracy and consistency matter more than finishing every sketch quickly.
Step 4: Develop Creative Thinking and Problem-Solving Skills
NID preparation is not only about drawing neatly. You also need to develop the ability to generate original ideas and communicate them effectively.
A useful beginner exercise is to take an everyday problem and suggest several solutions.
For example, imagine that students frequently forget their water bottles in classrooms. How could you design a solution to reduce this problem?
You might propose:
Next, sketch your preferred solution and explain why it would help.
Practise questions such as:
Do not stop at the first idea. Try to produce three to five possible solutions before selecting the strongest one.
This process helps you practise flexible thinking rather than relying on memorised answers.
Step 5: Learn Visual Communication and Storytelling
Visual communication means expressing an idea through images, symbols, composition and other visual elements.
For NID aspirants, this can include creating a poster concept, illustrating a situation, explaining how a product works or communicating a short story through drawings.
Start with these exercises:
- Draw a four-panel story about a student arriving late to class.
- Create a poster concept encouraging people to save water.
- Explain how to use a simple product through three illustrations.
- Sketch the same object from different viewpoints.
- Communicate an emotion through body language and facial expression.
When reviewing your work, ask whether another person could understand the idea without a lengthy explanation.
A drawing does not need to be highly detailed to communicate well. Clear composition, understandable actions and relevant details are often more useful than unnecessary decoration.
Step 6: Understand Design Awareness and General Knowledge
Beginners should also develop an awareness of the designed world around them.
You do not need to memorise every design-related fact at the beginning. Start by observing products, buildings, public spaces, signs, packaging, textiles and everyday interfaces.
For each example, ask:
You can also build awareness of Indian art, crafts, architecture, visual culture and contemporary design developments.
Use reliable learning resources and check the current official NID examination requirements before deciding how much time to allocate to general awareness. Do not assume that every topic appearing in a generic design aptitude book will necessarily appear in the examination.
Step 7: Start Solving NID Previous-Year Papers
Once you have spent some time learning the basics, introduce previous-year papers and official sample papers.
You do not have to wait until your drawing skills are perfect. Early exposure helps you understand the kinds of problems you may encounter and reveals which skills need improvement.
The official NID admissions portal provides DAT Prelims sample test papers for B.Des and M.Des in the relevant admission resources. National Institute of Design advises applicants to use its official admissions website for authentic information.
Use this process when solving a paper:
- Read the question carefully.
- Identify what the question is asking you to communicate.
- Plan your response before drawing.
- Allocate time according to the question and paper instructions.
- Complete the response as clearly as possible.
- Review your solution and identify what could be improved.
Initially, solve questions without worrying too much about speed. Once you understand the question types, begin practising under timed conditions.
Keep in mind that the current exam structure and the role of each stage must be checked in the admission handbook for your intended year.
Step 8: Follow a Simple Daily NID Study Timetable
Beginners often struggle because they try to study drawing, creativity, general awareness and every other topic for several hours without a clear plan.
A more manageable approach is to divide your preparation into focused sessions.
Sample 2-Hour Daily Routine
30 min Drawing practice
Sketch basic shapes, objects, perspective or figures.
30 min Creative problem-solving
Generate ideas for everyday problems and illustrate your best solution.
30 min Design awareness or question practice
Study a design topic or work through a suitable practice question.
30 min Review and improvement
Analyse mistakes, redraw weak sketches and note what you learned.
This is a suggested beginner routine, not an official NID timetable. Adjust it to your available time and preparation stage.
If you have only one hour a day, divide it between drawing, creative exercises and reviewing previous work. On weekends, you can spend more time on longer questions or a timed practice paper.
A 12-Week NID Preparation Plan for Beginners
If you are starting from zero, a 12-week plan can help you organise your early preparation. It is a foundation-building schedule, not a guarantee of exam readiness. Your progress will depend on your starting skills, available time and the requirements of your admission cycle.
| Weeks | Main Focus | Practice Goal |
|---|---|---|
| 1–2 | Basic drawing and observation | Sketch simple objects daily |
| 3–4 | Shapes, perspective and proportions | Draw objects from different angles |
| 5–6 | Creative thinking | Generate multiple solutions to design problems |
| 7–8 | Visual storytelling | Practise scenes, posters and sequential illustrations |
| 9–10 | Previous-year questions | Solve questions and analyse mistakes |
| 11–12 | Timed practice and revision | Complete practice sets and improve weak areas |
During the first month, focus on building basic skills rather than comparing yourself with experienced students. During the second month, work on communicating ideas through drawings. In the third month, introduce more timed practice and review your performance regularly.
If your examination is closer than 12 weeks away, prioritise the official syllabus and examination format, identify your weakest areas, and adjust the plan accordingly.
Which Books and Resources Should Beginners Use for NID?
You do not need to purchase a large collection of books before starting. A small number of reliable resources, combined with consistent practice, can provide a useful foundation.
Start with these resources:
You can begin with an ordinary pencil, eraser, ruler and notebook. Expensive art supplies are not a prerequisite for starting NID preparation.
Avoid collecting resources without using them. It is better to practise consistently with a few suitable materials than to spend weeks searching for the perfect book.
Common Mistakes Beginners Should Avoid
1. Thinking That Only Good Artists Can Clear NID
Drawing ability is useful, but design aptitude involves more than artistic skill. Observation, idea generation, visual communication and problem-solving also matter.
2. Copying Reference Drawings Without Understanding Them
Copying can help you learn shapes and proportions, but you should also practise drawing objects independently and creating your own solutions.
3. Focusing Only on Drawing
A visually attractive drawing may still fail to communicate the intended idea. Practise understanding the question, planning your response and explaining a solution visually.
4. Ignoring Previous-Year Questions
If you practise only basic drawing exercises, you may not become familiar with the demands of the actual examination. Introduce official sample papers and suitable previous-year questions early enough to identify gaps.
5. Comparing Your First Sketches With Advanced Students’ Work
Experienced students may have years of practice. Measure your progress by comparing your current work with your earlier work.
6. Waiting Until You Feel Fully Prepared
You can start solving simple design aptitude questions while you are still learning to draw. Early practice helps you discover what the examination requires.
7. Ignoring Official Admission Updates
Do not rely on outdated examination patterns or unofficial claims about eligibility, dates and selection stages. Check the official NID admissions portal regularly.
How D’Finite Academy Can Support Your NID Preparation
Students who need a more organised approach to design entrance preparation may explore D’Finite Academy alongside independent study and regular practice.
Before choosing any preparation resource or course, beginners should understand what support it provides and whether it suits their current skill level, available time and learning needs. No external course can replace consistent practice or guarantee admission.
NID also states on its official admissions portal that it does not encourage applicants to attend coaching classes for its admission test and has not authorised or franchised any organisation to conduct such classes. Applicants should review this guidance before evaluating preparation providers.
The most important step is to build your own understanding of design problems, practise communicating ideas, and use official NID resources to stay informed about the admission process.
Frequently Asked Questions
1. Can I prepare for NID without knowing how to draw?
Yes. You can begin with basic shapes, everyday objects, proportions and simple perspective. Gradually introduce human figures, scenes and visual storytelling. Drawing improves with deliberate, regular practice, although admission also depends on the other abilities assessed by the examination.
2. How many months are required for NID preparation?
There is no fixed preparation period that works for everyone. A beginner may use several months to build drawing, observation and creative problem-solving skills. The time required depends on the starting level, daily practice, examination date and the official selection process.
3. Is coaching necessary for NID DAT?
Coaching is not a prerequisite for beginning NID preparation. Students can start with official sample papers, previous-year questions, drawing exercises and self-review. If considering additional learning support, evaluate its relevance to your needs and review NID’s official guidance regarding coaching classes.
4. What should I study first for NID?
Start by understanding the current exam pattern and eligibility requirements. Then practise basic drawing, observation, object sketching, creative problem-solving and visual communication. Introduce official sample papers as you become familiar with the basics.
5. Is NID preparation possible alongside Class 11 or Class 12?
Yes. Students can build design aptitude alongside school studies by setting aside regular practice time. A manageable routine with drawing, creative exercises and periodic question practice can help them develop skills without neglecting academic responsibilities.
6. Are NID previous-year papers enough for preparation?
Previous-year papers are useful, but they should not be your only resource. Combine them with skill-building exercises, design observation, creative problem-solving and the official admission handbook. Also, remember that older papers may not fully reflect the latest examination structure.
7. Do I need expensive drawing materials for NID preparation?
No. A pencil, eraser, ruler and sketchbook are enough to begin. Invest in additional materials only when your practice requires them or the official examination instructions specify particular requirements.
8. What is the biggest challenge for NID beginners?
The biggest challenge is often learning to translate an idea into a clear visual response. Beginners may understand a problem but struggle to represent the solution. Regular sketching, brainstorming, visual storytelling and reviewing completed work can help address this difficulty.
Conclusion
Starting NID preparation from zero is manageable when you follow a clear sequence. Begin with observation and basic drawing, develop creative thinking, learn visual communication, and gradually introduce previous-year papers and timed practice.
You do not need to master every skill in your first week. Focus on consistent improvement, use reliable resources, and verify the current examination requirements through the official NID admissions website.
Students considering additional preparation support can explore relevant learning options, including D’Finite Academy, while keeping independent practice and official NID guidance at the centre of their preparation.